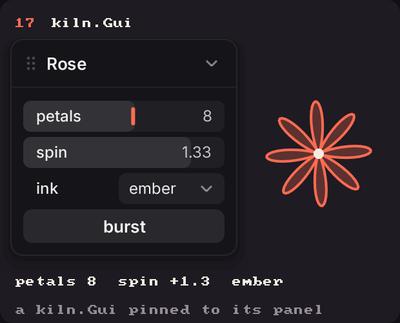
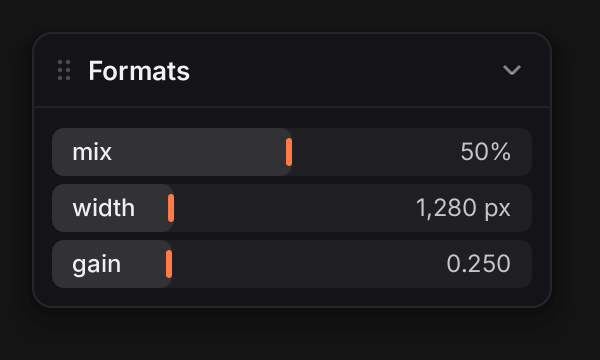
Showcase panel 17: a kiln.Gui of its own, always shown: sliders, a choice and a button tune a rose.
Try it live: run uv run python examples/showcase.py, then use the controls in panel 17, or see the showcase.
A slider is the fastest way to find out what a number should be. kiln.Gui is a small panel of controls that Kiln draws on top of your sketch. You make it in setup, add a slider, and read its value in draw. That is all there is to it.
nothing; call on_note(note, velocity) and on_release(note)
with gui.folder(name):
nothing; groups the controls made inside
Anything that holds a tuple or a colour is used as a plain value: unpack it, or pass it to a drawing call. Wherever you need a real str, tuple or Color (a dictionary key, say), take its .value.
A first slider
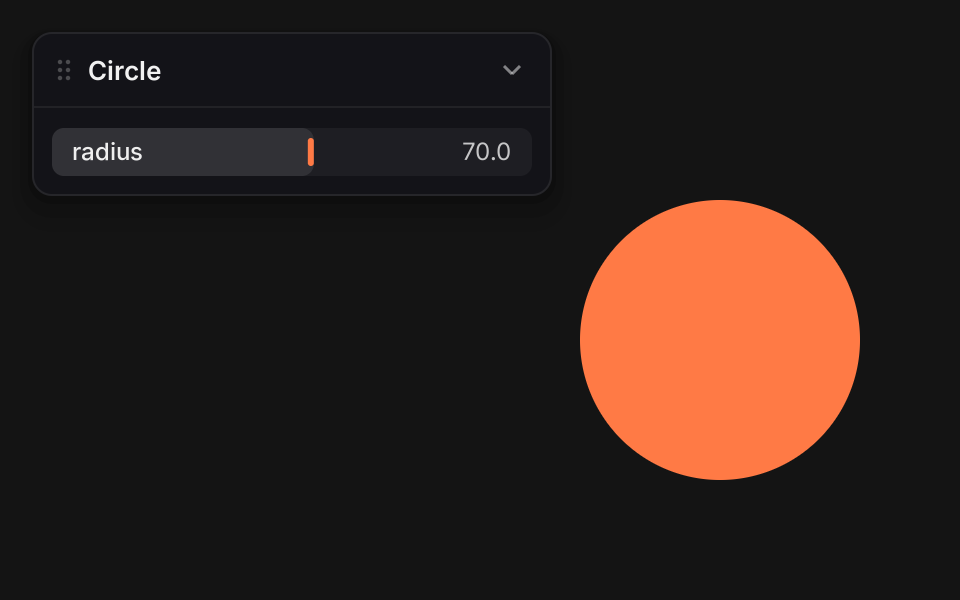
gui.slider(name, value, min, max) adds a row and returns a Parameter. It reads like the number the slider is showing right now, so you can pass it straight to a drawing call.
The panel is not part of the picture you draw. The docs ask for it with with_gui=True; a plain render, a screenshot or a saved frame leaves it out (more below).
What a Parameter knows
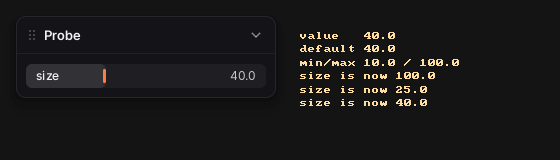
A Parameter is a value with a range. The slider edits it; you read it like the value it holds, which for a slider is a number. It can be changed from code too (set .value), and it never holds a value outside its range.
import kilnclass Probe(kiln.App):def setup(self): gui = kiln.Gui("Probe")self.size = gui.slider("size", 40.0, 10.0, 100.0)self.log = []self.size.on_change(lambda v: self.log.append(f"size is now {v}"))def draw(self): p =self.sizeif kiln.clock.frame ==0: p.value =500# too big: clamped to the max p.value =25 p.reset() # back to the default kiln.background(20) lines = [f"value {p.value}",f"default {p.default}",f"min/max {p.min} / {p.max}",*self.log, ] kiln.fill(255, 220, 160) kiln.text("\n".join(lines), 300, 40)show(Probe(), size=(560, 160), with_gui=True)
Name
What it does
.value
The current number. Set it to change it; it is clamped to [min, max].
Use the current value and give a plain number: radius * 2, radius > 50.
f-strings, str()
Show the value: f"r = {radius:.1f}" gives r = 80.0.
numpy
Reads the value: np.sin(angle), points * scale, np.linspace(0, radius, 8) give plain float arrays.
range(count)
Works for an int slider (it is an index). A float slider raises TypeError.
max(p, 0.2), min(...), json.dumps(p)
max and min can hand back the Parameter itself, which stays live, and JSON does not know it. Use float(p) or p.value to keep a number or dump one.
.default
The value it started with.
.min, .max
The ends of the range.
reset()
Goes back to .default. A double-click on the slider does the same.
on_change(fn)
Calls fn(value) every time the value changes, whoever changed it. Setting the value it already has calls nobody. It returns a function that removes the listener: off = p.on_change(fn), then off().
.path
The name with its folders, such as "Look/size" (see Folders).
Setting is the one place you still write .value: radius.value = 50. Plain radius += 1 only rebinds your variable to a number, as it does in any Python. radius == 50 compares values. A Parameter is not its value for a dictionary, though: it hashes by identity, so to look something up by what a control holds, use .value as the key (PALETTES[palette.value], as in Choices).
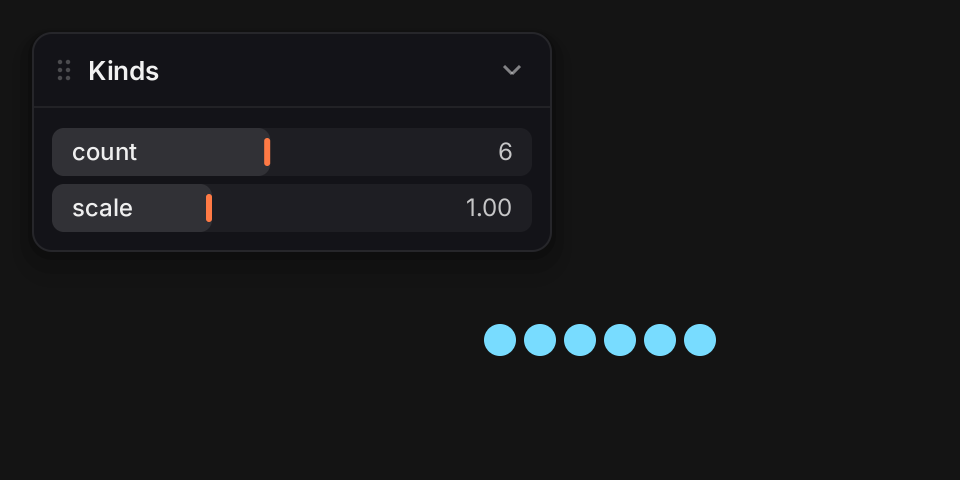
When the value, min and max are all ints, you get an int slider that only ever gives ints. Give any one of them a decimal point and it is a float slider.
import kilnclass Kinds(kiln.App):def setup(self):self.gui = kiln.Gui("Kinds")self.count =self.gui.slider("count", 6, 1, 12) # all ints: int sliderself.scale =self.gui.slider("scale", 1.0, 0.5, 2.0) # floats: float sliderdef draw(self): kiln.background(20) kiln.fill(120, 220, 255)for i inrange(self.count): # an int slider works in range() kiln.circle(250+ i *20, 170, 8*self.scale)show(Kinds(), size=(480, 240), pixel_ratio=2, with_gui=True)
Choosing how a value reads
The slider shows its value with decimals picked from the range: about three significant digits of it (0 to 1 shows 0.57, 10 to 300 shows 140.0). To say it your own way, pass format, a str.format pattern:
Sliders are for numbers. For the rest there is a control each, starting with the simplest.
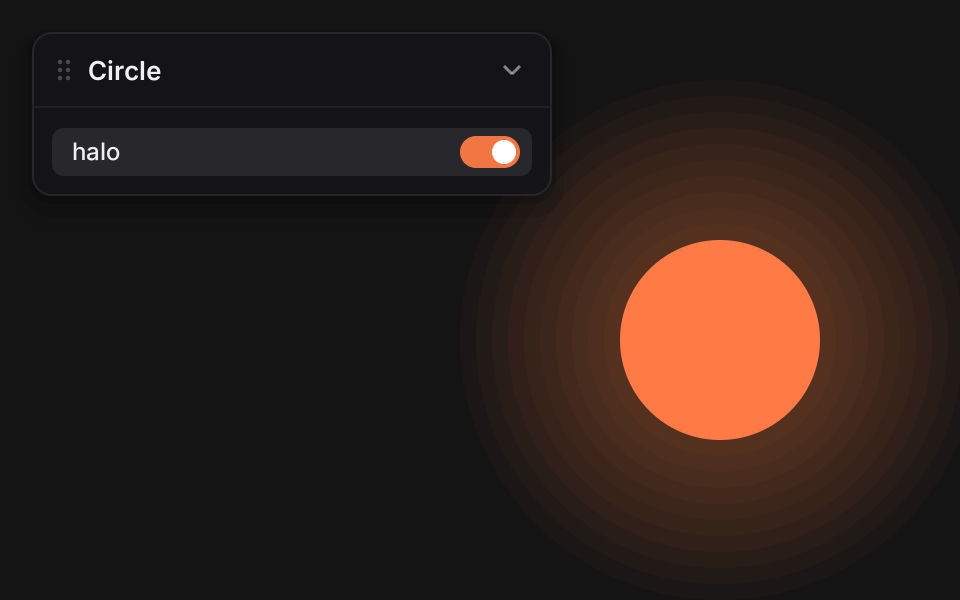
gui.toggle(name, value=False) is an on/off switch. It returns a Parameter that is a bool: if halo: reads it and halo.value = True sets it. Click it and the knob slides across.
import kilnclass Halo(kiln.App):def setup(self):self.gui = kiln.Gui("Circle")self.halo =self.gui.toggle("halo", False)def draw(self): kiln.background(20)ifself.halo:for i inrange(10, 0, -1): kiln.fill(255, 122, 69, 8) kiln.circle(360, 170, 50+ i *8) kiln.fill(255, 122, 69) kiln.circle(360, 170, 50)# The toggle's row is the first one: y = 76. Frame 3 clicks it; it is on from then.click = [(3, MousePress(x=100, y=76)), (4, MouseRelease())]show(Halo(), frames=30, size=(480, 300), pixel_ratio=2, events=click, with_gui=True)
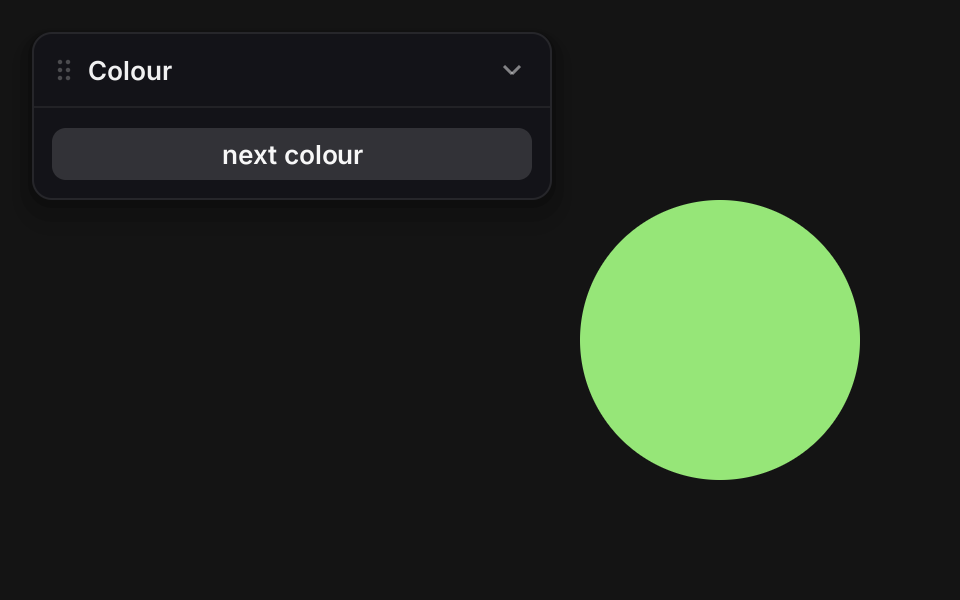
gui.button(name, on_click) calls on_click() once per click, when the mouse is released on the button. Press and slide off, and nothing happens. The button lights up in the accent colour while it is pressed.
import kilnCOLOURS = [(255, 122, 69), (90, 190, 255), (150, 230, 120)]class Next(kiln.App):def setup(self):self.gui = kiln.Gui("Colour")self.index =0self.gui.button("next colour", self.next_colour)def next_colour(self):self.index = (self.index +1) %len(COLOURS)def draw(self): kiln.background(20) kiln.fill(*COLOURS[self.index]) kiln.circle(360, 170, 70)# Two clicks on the button (the first row, y = 76): orange, blue, then green.clicks = [(3, MousePress(x=100, y=76)), (4, MouseRelease()), (8, MousePress(x=100, y=76)), (9, MouseRelease())]show(Next(), frames=20, size=(480, 300), pixel_ratio=2, events=clicks, with_gui=True)
gui.label(name, value="") is a read-only row, handy for a frame rate or a count. It returns a Parameter holding text: set label.value from update (a number is fine; it is shown as text) and the row keeps itself right-aligned.
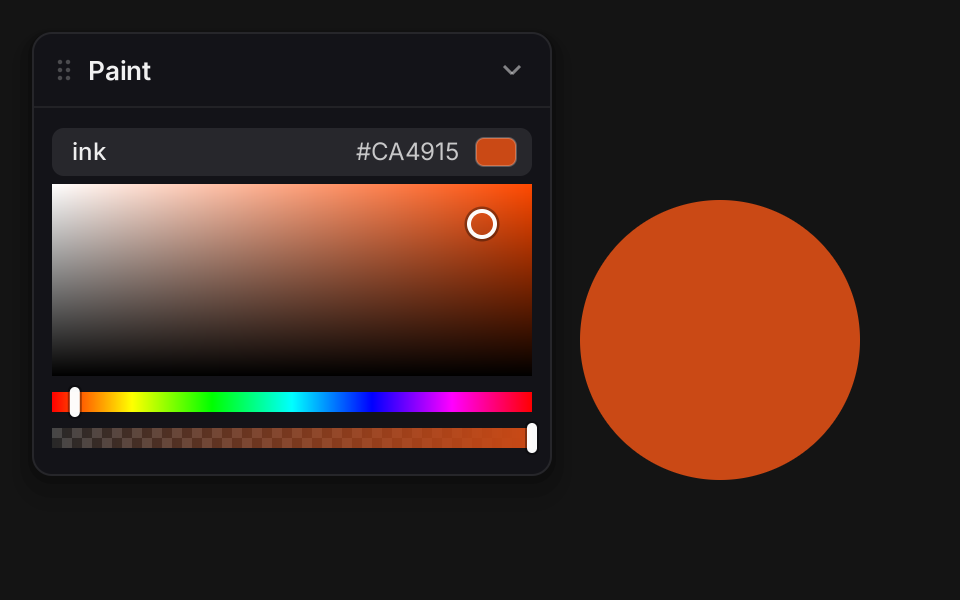
gui.color(name, value) is a colour picker. The row shows a swatch and the colour as #RRGGBB. Click it and an HSV square opens under it, with a hue bar and an alpha bar: the square’s corners are white, black and the pure hue, and the bars set the hue and the see-through. Click the row again to close it; the panel grows and shrinks to fit.
It returns a Parameter that holds a kiln.Color, so you can hand it straight to fill or background. To change it from code, assign a new colour (a kiln.Color or a tuple of 0-255 channels).
import kilnclass Paint(kiln.App):def setup(self):self.gui = kiln.Gui("Paint")self.ink =self.gui.color("ink", kiln.Color(255, 122, 69))def draw(self): kiln.background(20) kiln.fill(self.ink) kiln.circle(360, 170, 70)# Frame 2 opens the picker (the first row, y = 76); frame 6 picks a deep orange in its square.events = [(2, MousePress(x=100, y=76)), (3, MouseRelease()), (6, MousePress(x=26+215, y=92+20)), (7, MouseRelease())]show(Paint(), frames=12, size=(480, 300), pixel_ratio=2, events=events, with_gui=True)
The picker remembers the hue you chose even when you drag the colour to white or black, so you can come back to it. It opens inline, so nothing floats off the panel, and Esc closes an open picker (it doesn’t quit your sketch; with no picker open, Esc quits as ever).
XY pads and ranges
Two numbers at once need a different shape.
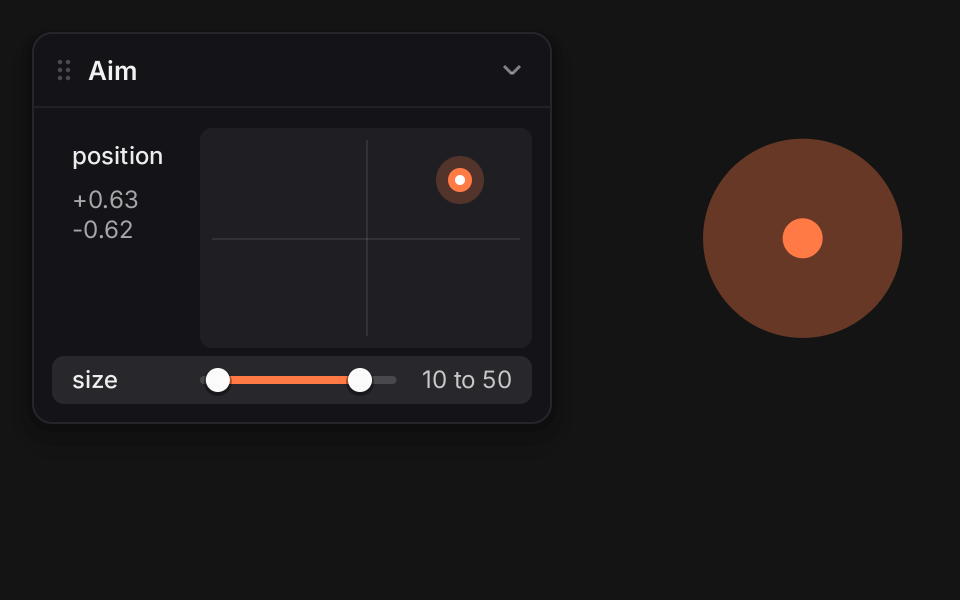
Two controls for two numbers. gui.xy(name, value=(0, 0), min=-1, max=1) is a square pad: click to jump the handle there, drag to move it, hold Shift to drag a tenth as far, and double-click to put it back. It returns a Parameter holding an (x, y) tuple, so x, y = pad unpacks it. The pad’s top left is (min, min) and its bottom right is (max, max): y grows downward, like the window’s.
gui.range(name, value, min, max) is a slider with two handles, for a span: a low and a high end. A press grabs the nearer handle, and the handles never cross. It holds a (low, high) tuple and shows it as low to high. Setting it from code with the low end above the high end raises ValueError.
import kilnclass Aim(kiln.App):def setup(self):self.gui = kiln.Gui("Aim")self.pos =self.gui.xy("position", (0.0, 0.0))self.size =self.gui.range("size", (10.0, 30.0), 5.0, 60.0, format="{:.0f}")def draw(self): kiln.background(20) x, y =self.pos low, high =self.size kiln.fill(255, 122, 69, 90) kiln.circle(370+ x *50, 150+ y *50, high) kiln.fill(255, 122, 69) kiln.circle(370+ x *50, 150+ y *50, low)# Frame 2 drops the handle on the pad's upper right (the pad spans x 100..266, y 64..174);# frame 6 pulls the high end of the range out to about 50 (the range's row is at y 186).events = [(2, MousePress(x=230, y=90)), (3, MouseRelease()), (6, MousePress(x=146, y=198)), (7, MouseMove(180, 198)), (8, MouseRelease())]show(Aim(), frames=14, size=(480, 300), pixel_ratio=2, events=events, with_gui=True)
Knobs
For a handful of numbers you tweak by feel, a row of knobs saves space.
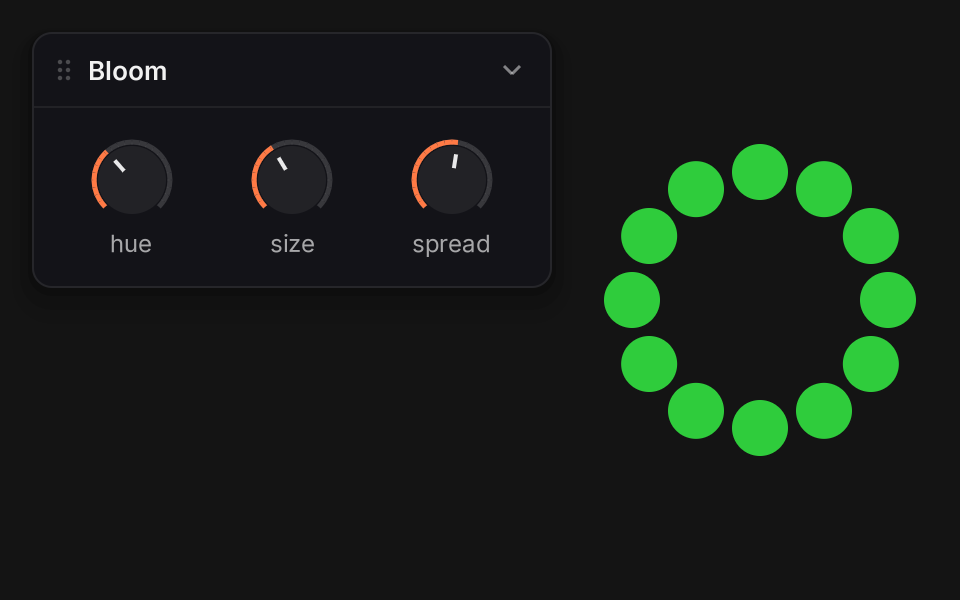
gui.knobs(...) is a row of rotary controls, the kind you find on a synth. Give it one (name, value, min, max) tuple per knob and it returns their Parameters, in order. Drag a knob up to turn it up: 150 points of drag is the whole range, Shift drags a tenth as far for fine tuning, a double-click puts that knob back, and the scroll wheel nudges the knob under the pointer (on an int knob, small scrolls add up until they make a whole step). While you hold a knob, its name shows its value. Like a slider, a knob whose value and bounds are all ints only yields ints.
gui.choice(name, options, value=None) picks one option among several (options is a list or tuple of strings; a bare string raises TypeError). Its Parameter holds the chosen option itself, a string, so if self.shape == "rings": reads it and self.shape.value = "dots" sets it. It starts on value, or on the first option, and self.shape.options lists every option, in order.
You make every choice the same way, and the row picks its form:
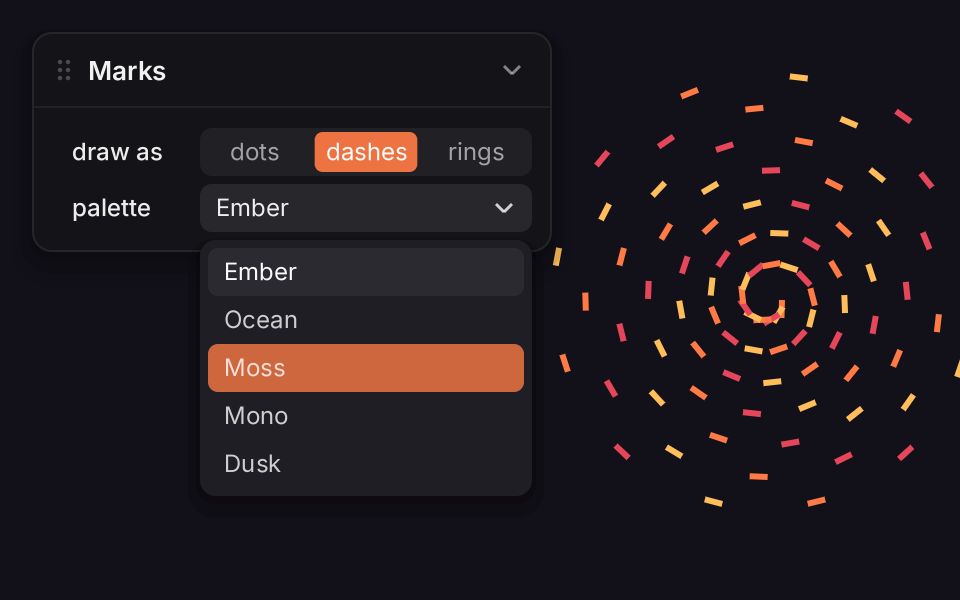
Up to four options that each fit their segment show whole, as a segmented control. Click one, and the highlight slides over to it.
More options, or longer ones, make a dropdown. The box shows the chosen option, and a click opens the list of all of them above every panel, with the one under the pointer lit. Click an option to choose it. A click anywhere else, or Esc, closes the list and changes nothing (that click doesn’t reach your sketch either). While a list is open it takes the keyboard too, so your key_pressed hears nothing until it closes (Tab still hides the panels).
import mathimport kilnPALETTES = {"Ember": [(255, 122, 69), (255, 190, 90), (230, 70, 90)],"Ocean": [(64, 156, 255), (60, 220, 200), (150, 110, 255)],"Moss": [(150, 210, 90), (60, 170, 120), (230, 220, 120)],"Mono": [(235, 235, 240), (150, 150, 160), (90, 90, 100)],"Dusk": [(255, 140, 180), (170, 120, 255), (255, 200, 150)],}class Marks(kiln.App):def setup(self):self.gui = kiln.Gui("Marks")self.shape =self.gui.choice("draw as", ["dots", "dashes", "rings"])self.palette =self.gui.choice("palette", list(PALETTES))def draw(self): kiln.background(18, 16, 24) colours = PALETTES[self.palette.value] # a dict key is the string, not the Parameterfor i inrange(90): a, r = i *0.5, 6+ i *1.25 x, y =385+ r * math.cos(a), 150+ r * math.sin(a) kiln.fill(*colours[i %3])ifself.shape =="dots": kiln.circle(x, y, 4)elifself.shape =="dashes": kiln.stroke(width=3) kiln.line(x, y, x +9* math.cos(a +1.6), y +9* math.sin(a +1.6))else:with kiln.style(fill=None, stroke=colours[i %3], stroke_width=1.5): kiln.circle(x, y, 5)# Click "dashes" (frame 2), then open the palette (frame 5) and rest on "Moss".events = [(2, MousePress(x=183, y=76)), (3, MouseRelease()), (5, MousePress(x=200, y=104)), (6, MouseRelease()), (8, MouseMove(200, 184))]show(Marks(), frames=30, size=(480, 300), pixel_ratio=2, events=events, with_gui=True)
The list is open in the picture, so the art still shows the chosen palette, Ember. Click “Moss” and the spiral turns green.
NoteKey a dict by .value
A Parameter hashes by identity, so PALETTES[self.palette] raises KeyError. Look a choice up by what it holds: PALETTES[self.palette.value] (or PALETTES[str(self.palette)]).
Text fields
And for words, a text field.
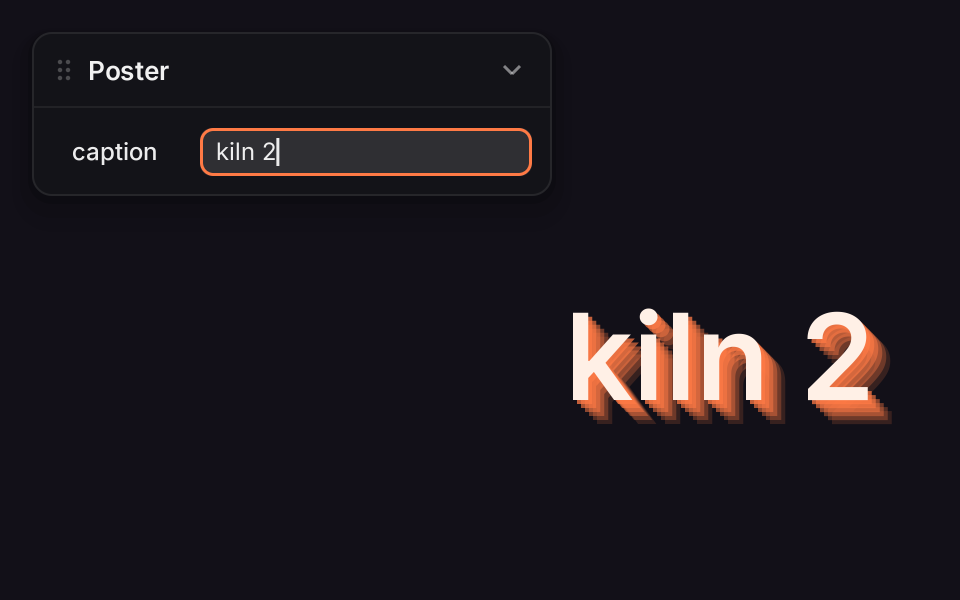
gui.text(name, value="") is a one-line text box. Its Parameter holds a string: self.caption.value reads it (so does f"{self.caption}"), and self.caption.value = "..." sets it.
Click the box to type. The value changes as you type, so the sketch follows every key.
Letters, digits, punctuation and space type at the caret, which blinks.
Backspace and Delete delete, and Left, Right, Home and End move the caret. A held key repeats.
Return, Esc or Tab finishes, and so does a click anywhere else.
While you type, the keys are the box’s: your sketch’s key_pressed hears none of them, Esc doesn’t quit and Tab doesn’t hide the panels. Once you finish, every key is the sketch’s again. The pointer is an I-beam over the box.
import kilnclass Caption(kiln.App):def setup(self):self.gui = kiln.Gui("Poster")self.caption =self.gui.text("caption", "kiln")self.font = kiln.Font("Inter SemiBold", 60)def draw(self): kiln.background(18, 16, 24) text =self.caption.value x =360-self.font.text_width(text) /2for i inrange(6, 0, -1): # a long shadow, fading out kiln.fill(255, 122, 69, 40+30* (6- i)) kiln.text(text, x + i *2, 200+ i *2, font=self.font) kiln.fill(255, 240, 230) kiln.text(text, x, 200, font=self.font)# Click after "kiln" (frame 2), type " 2" and rest: the caret blinks after the 2.typing = [(5, KeyPress(ord(" "))), (6, KeyRelease(ord(" "))), (8, KeyPress(ord("2"))), (9, KeyRelease(ord("2")))]events = [(2, MousePress(x=250, y=76)), (3, MouseRelease())] + typingshow(Caption(), frames=20, size=(480, 300), pixel_ratio=2, events=events, with_gui=True)
Monitors
So far every control takes input. Two rows only show you something.
Two read-only rows watch a number for you. gui.graph(name, fn, min, max) calls fn() once per frame and draws the last two seconds or so as a line, with the current value beside it. gui.meter(name, fn) lights up segments to a level between 0 and 1, and a thin marker holds the recent peak for a moment before it falls. Values outside the range are clamped on the monitor. Neither takes input, so a click on one never reaches your sketch.
The monitors read your own variables, so any number you can compute can go on a graph: the frame rate (kiln.clock.fps), a particle count, the loudness of a sound.
Step grid
For a rhythm you edit while it runs, a step grid.
gui.steps(name, tracks, steps=16) is a row per track with its name on the left and a cell per step. A cell is off, a hit or an accent. Click one to toggle it between off and hit, Shift-click to make it an accent (Shift-click an accent, or plain click it, to turn it off), and drag to paint the value your press set over the cells you cross, along a track or across tracks. A double-click on a track’s name clears the track. A brighter line marks every four steps.
The Parameter it returns holds the cells as a tuple of tuples of 0 (off), 1 (hit) and 2 (accent), so grid[0] is the first track. For the string form a sequencer reads, grid.patterns["kick"] gives "x...X..." (x a hit, X an accent, . a rest, one character a step) and grid.patterns["kick"] = "x... x... X... x..." sets it (spaces and | are ignored, so you can group a bar). Set grid.playhead = step each frame to light the column that is playing, or None for none. The grid is saved in presets like any other control.
Here a plain counter plays the part of a sequencer: it advances every few frames, lights the column, and the sketch draws a ring for each track with a hit on that step.
import kilnclass Beat(kiln.App):def setup(self):self.gui = kiln.Gui("Beat")self.grid =self.gui.steps("beat", ["kick", "snare", "hat"], tip="click, shift-click, drag")self.grid.patterns["kick"] ="x...x...x...x..x"self.grid.patterns["snare"] ="....X.......X..."self.step =0def update(self):if kiln.clock.frame %4==0:self.step = (self.step +1) %16# a sequencer would give thisself.grid.playhead =self.stepdef draw(self): kiln.background(20)for row, track inenumerate(self.grid.tracks): cell =self.grid[row][self.step] # 0 rest, 1 hit, 2 accentif cell: kiln.fill(255, 122, 69, 255if cell ==2else160) kiln.circle(150+ row *90, 190, 14+12* cell)# Cells: step c of track r is at x = 86 + 11 (c + 0.5), y = 68 + 14 (r + 0.5).# Frames 2-4 drag a run of hats across steps 2-8; frame 8 shift-clicks step 10 of the hats.events = [(2, MousePress(x=86+11*2.5, y=68+14*2.5)), (3, MouseMove(86+11*5.5, 68+14*2.5)), (4, MouseMove(86+11*8.5, 68+14*2.5)), (5, MouseRelease()), (8, KeyPress(kiln.Key.LEFT_SHIFT)), (9, MousePress(x=86+11*10.5, y=68+14*2.5)), (10, MouseRelease()), (11, KeyRelease(kiln.Key.LEFT_SHIFT))]show_video(Beat(), frames=128, size=(480, 260), events=events, with_gui=True)
Spectrum and scope
Two more read-only rows show you an array instead of a number. gui.spectrum(name, fn) draws one bar for each value of fn(), which returns magnitudes between 0 and 1, from low to high. A thin cap on every bar holds the recent peak for a moment, then falls. gui.scope(name, fn) draws fn(), samples between -1 and 1, as a wave across the row. Values outside the range are clamped, and NaN or infinity reads as 0.
Neither needs any sound: they take a function that returns an array. Here the arrays are made of sines. With kiln.sound, pass lambda: kiln.master.spectrum(64) to the spectrum, and the output samples to the scope. That spectrum is already banded by frequency (log-spaced), so the bars are drawn as given. log only matters when you pass more values than bars: gui.spectrum("fft", fn, bands=64) with a 512-bin linear FFT groups the bins on a log scale (the default) so the bass is not squeezed into a few bars; log=False groups them evenly.
Give bands= to draw a different number of bars than fn() returns; each bar shows the largest value of its group. With log=True, the default, the groups grow on a log scale, so the bass spreads over several bars and the treble shares one, the way audio spectra are read. log=False makes every group the same size.
Keyboard and pads
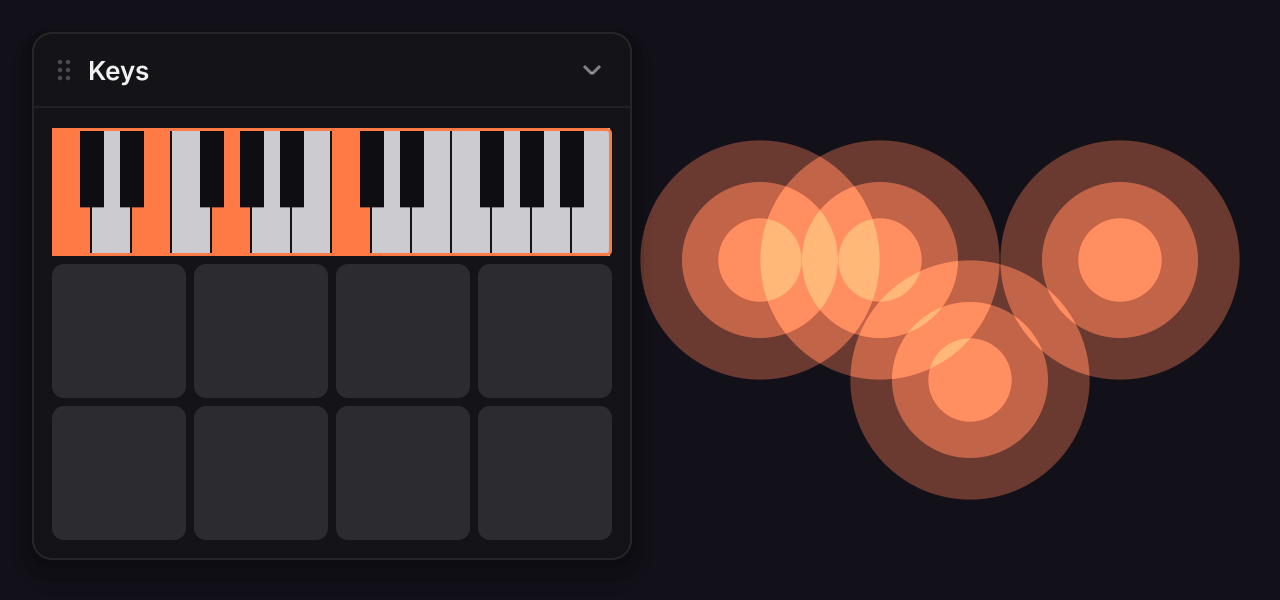
Two controls play notes. gui.keyboard(name, low="C3", octaves=2) is a piano strip and gui.pads(name, rows=4, cols=4) a grid of square pads. Neither holds a value, so neither returns a Parameter or is saved with presets. They call you back instead: on_note(note, velocity) when a key or pad goes down and on_release(note) when it comes up. Notes are MIDI numbers, with the convention that "C4" is 60 and "A4" is 69; low is a note name ("C3", "F#2") or a number. The velocity is in (0, 1] and comes from where you press: low on a key (or pad) is louder, as on a real key.
Press a key to play it. Drag along the strip and each key you cross is released and the next played, a glissando. Let go anywhere and the note is released, and hiding the panel or the window losing focus releases every held note, so nothing hangs.
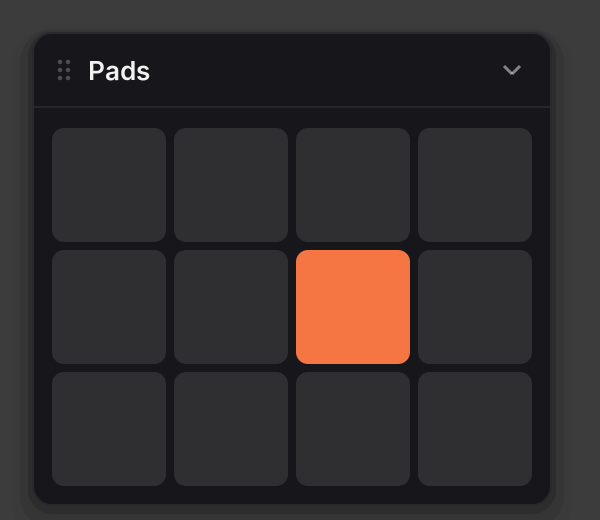
Pad i, counted row by row from the top left, plays base + i (base=36 by default). It is lit while you hold it.
Click the strip and it takes the computer keyboard (an accent ring shows). A W S E D F T G Y H U J K play the keys from the C at or below low up to the next, Z and X move the octave down and up, and a held key plays once. Esc, Tab or a click elsewhere gives the keyboard back to the sketch.
The panel makes no sound by itself. Use the callbacks to print the notes or draw something, as below. With kiln.sound, turn the number into a frequency in Hz, 440 * 2 ** ((note - 69) / 12), and play that: synth.note_on(kiln.note_to_freq(note), velocity) does both. A pad maps naturally to a drum, drum.hit(velocity).
import kilnclass Chord(kiln.App):def setup(self):self.gui = kiln.Gui("Keys", width=300)self.held = {} # note -> velocityself.gui.keyboard("piano", "C3", 2, on_note=self.held.__setitem__, on_release=lambda note: self.held.pop(note, None))self.gui.pads("drums", 2, 4, on_note=lambda n, v: print(n, round(v, 2)))def draw(self): kiln.background(18, 16, 24) kiln.blend(kiln.Blend.ADD)for note, velocity inself.held.items(): x, y =380+ (note -48) *15, 160+60* ((note %12) %2-0.5)for r in (46, 30, 16): kiln.fill(255, 122, 69, 40+60* velocity) kiln.circle(x, y, r * (0.5+ velocity)) kiln.blend(kiln.Blend.REPLACE)# Click the strip to focus it (frame 2), then play a C major chord from the computer keyboard.chord = [(f, KeyPress(ord(c))) for f, c in ((6, "a"), (7, "d"), (8, "g"), (9, "k"))]events = [(2, MouseMove(40, 120)), (2, MousePress(x=40, y=120)), (3, MouseRelease())] + chordshow(Chord(), frames=14, size=(640, 300), pixel_ratio=2, events=events, with_gui=True)
Pads are the same idea with no gliding: the pad stays lit until you let go.
class Hits(kiln.App):def setup(self):self.gui = kiln.Gui("Pads", width=260)self.gui.pads("drums", 3, 4, base=36)# Hold the pad in the second row, third column (note 42).events = [(2, MouseMove(150, 135)), (2, MousePress(x=150, y=135))]show(Hits(), frames=6, size=(300, 260), pixel_ratio=2, events=events, with_gui=True)
A panel for a synth
The sound widgets add up to an instrument. examples/20_gui_synth.py is one panel with sliders and a waveform choice bound to a Synth (synth.bind("cutoff", cutoff)), a keyboard that plays it, and a spectrum and a scope that read kiln.master, so turning a knob changes the picture as it changes the sound. The sketch itself is a glow that swells with the level.
uv run python examples/20_gui_synth.py
Folders
A panel with a dozen controls wants some order.
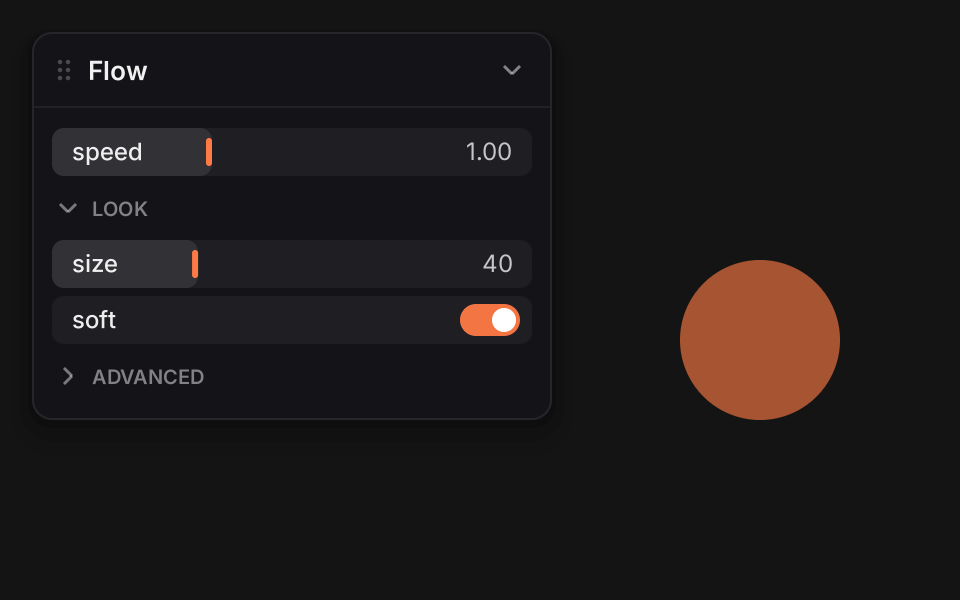
Group controls with a with block. The caption row has a chevron; click it to fold the group, and the panel gets shorter. Pass collapsed=True to start folded. Folders nest.
A folded folder’s controls take no clicks, and a closed folder costs no height.
Each control’s Parameter knows its path, its folders and its name: self.size.path is "Look/size". Two controls in one panel can share a name in different folders, but not in the same one: a second "size" in “Look” raises ValueError as you make it.
Using the panel
Now that there is a control of every kind, here is how you work them. Nearly everything is by mouse:
Do this
To get this
Click a slider
The value jumps there.
Drag a slider
The value follows the mouse.
Hold Shift while dragging
Fine control: the value moves a tenth as far.
Double-click a slider
It resets to its default.
Click a toggle
It flips.
Click or drag an XY pad, a range, a knob
It moves; Shift drags a tenth as far, a double-click resets.
Click a choice or a colour row
Picks that option, or opens the list or the picker.
Click a text field
You type; Return, Esc or Tab finishes.
Click a button
It does its thing (on release, with the pointer still on it).
Click a folder’s caption
Folds the controls under it, and back.
Rest on a control
Its tip appears, if it has one.
Drag the header
Moves the panel (it stays inside the window).
Click the chevron
Folds the panel to its header, and back.
Press Tab
Hides every panel, or shows them all again.
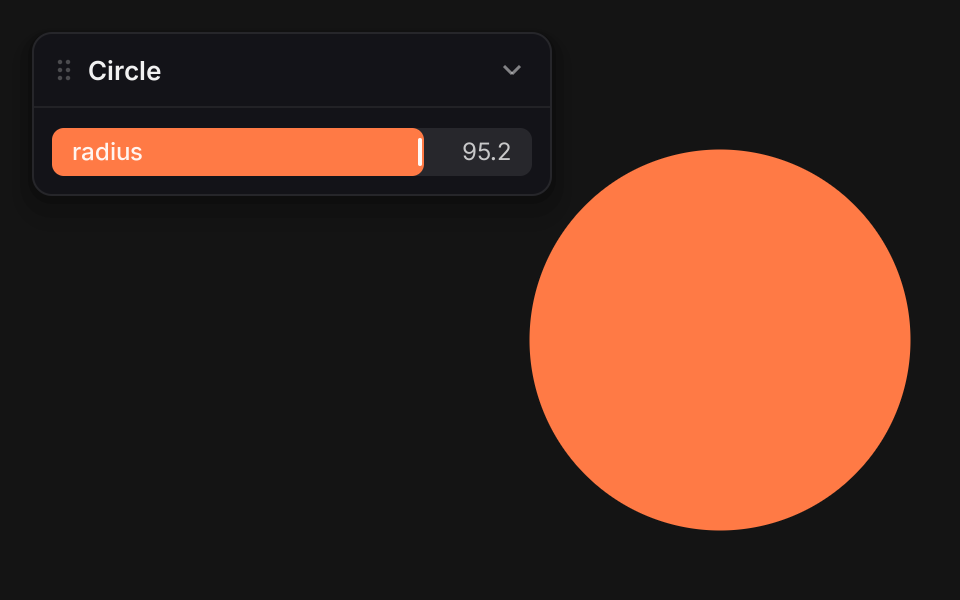
Here is a scripted mouse (these docs have no real one; see Interaction) pressing on the slider and dragging it right. The frame shows the dragging state: the row lights up and a thin white marker follows the pointer. The marker steps out of the way of the name and the value, so you can always read them; the orange edge still shows where the value is.
import kilnclass Drag(kiln.App):def setup(self):self.gui = kiln.Gui("Circle")self.radius =self.gui.slider("radius", 30.0, 10.0, 120.0)def draw(self): kiln.background(20) kiln.fill(255, 122, 69) kiln.circle(360, 170, self.radius)# The slider row spans x = 26..266 at y = 76 (see the panel's x, y and width).events = [(2, MousePress(x=60, y=76))]events += [(3+ f, MouseMove(60+ f *8, 76)) for f inrange(20)] # drag right, no releaseshow(Drag(), frames=30, size=(480, 300), pixel_ratio=2, events=events, with_gui=True)
Several panels
Make as many panels as you like and give each its own spot with x, y and width. A click raises a panel above the others, so you can always reach the one you want.
The sketch is untouched; only the panel is gone. Tab still reaches your key_pressed, so you can use it too.
Tooltips and cursors
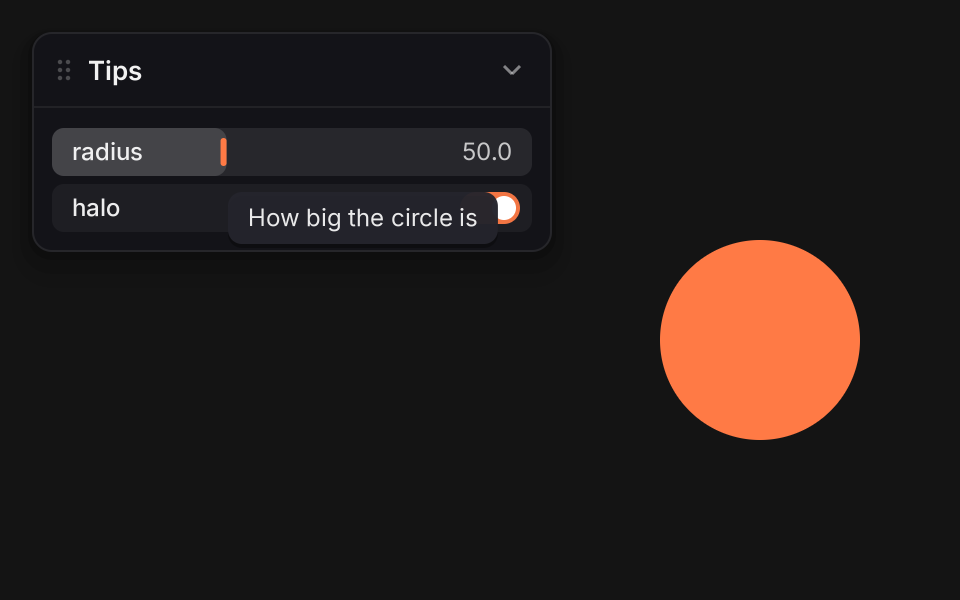
Every control takes an optional tip="...". Rest the pointer on it for about 0.6 seconds and the tip appears beside the pointer, kept on screen. It hides while you drag. The cursor turns into a pointing hand over anything clickable, a horizontal arrow over a slider or range, a crosshair over an XY pad, a vertical arrow over a knob and an I-beam over a text field, and back to the arrow elsewhere.
import kilnclass Tips(kiln.App):def setup(self):self.gui = kiln.Gui("Tips")self.radius =self.gui.slider("radius", 50.0, 10.0, 120.0, tip="How big the circle is")self.halo =self.gui.toggle("halo", True, tip="Soft rings around it")def draw(self): kiln.background(20) kiln.fill(255, 122, 69) kiln.circle(380, 170, self.radius)# Park the pointer on the slider and wait: the frames are timed, so frame 60 is 1 s.show(Tips(), frames=60, size=(480, 300), pixel_ratio=2, events=[(1, MouseMove(100, 76))], with_gui=True)
Presets
Once the panel is set up the way you like it, keep it.
gui.save(path) writes every control’s value to a JSON file (all at once, so a crash never leaves half a preset), and gui.load(path) puts them back. The file is one object keyed by each control’s path, so it reads well and you can edit it by hand. Values go through the same setter as a drag, so load clamps, converts, and calls your on_change listeners. Colours, pairs and choices have JSON forms too, and a text field takes only a string (anything else is a warning and is skipped). A key with no control, or a value a control can’t take, gives a warning and is skipped; anything the file leaves out keeps its value.
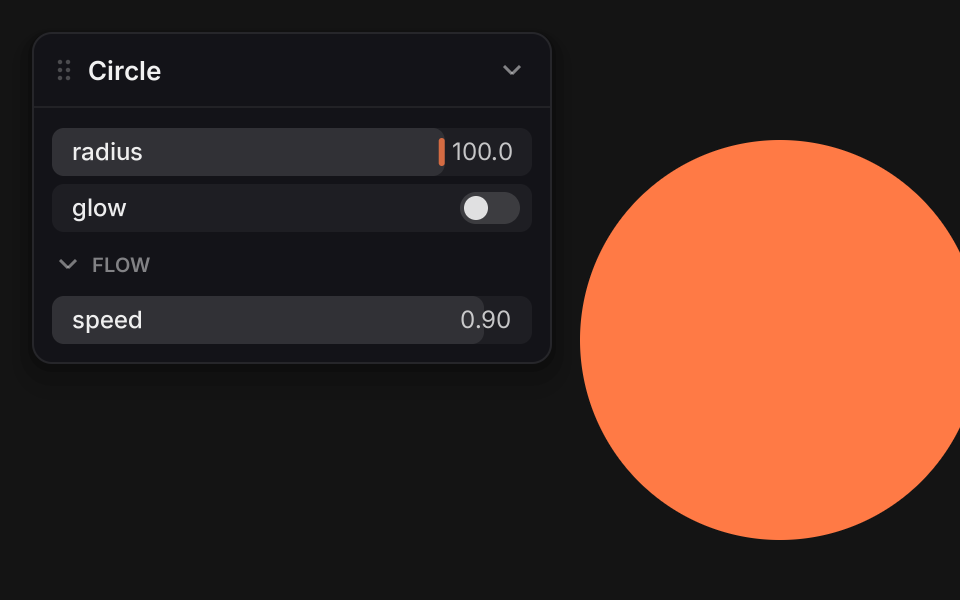
The glow stayed off because the file didn’t mention it, the speed clamped to its top, and colour isn’t a control, so it was skipped with a warning. Read-only rows (labels, graphs, meters) are not saved. A sketch can call load at the end of setup, so it starts the way you left it:
A last look at how the panel and your sketch share the window.
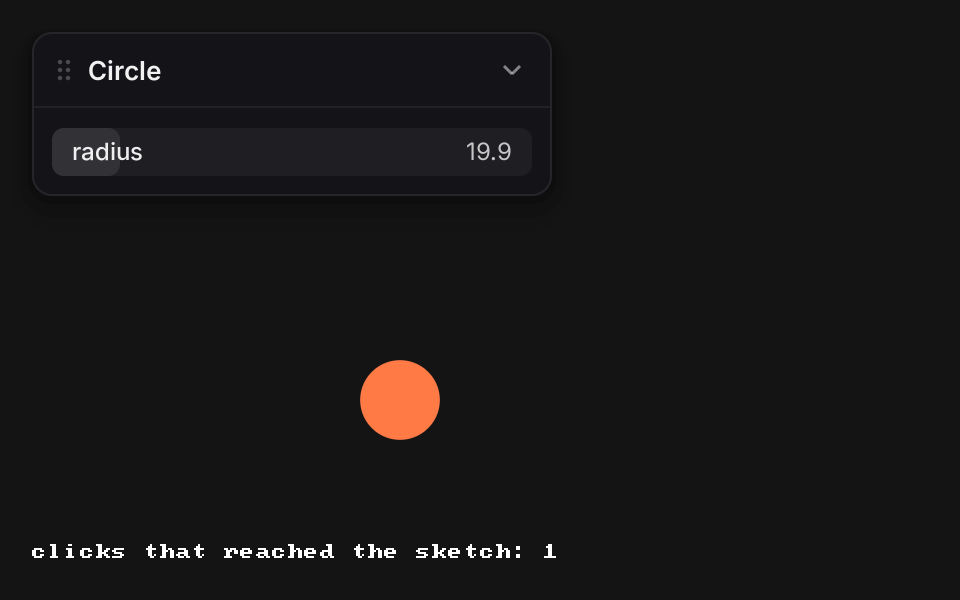
The panel keeps its own clicks. A click or scroll that lands on a panel never reaches mouse_pressed, mouse_dragged, mouse_released or mouse_scrolled. Clicks anywhere else do. So you can move a circle with the mouse and have sliders, and they will not fight. (Moves always reach mouse_moved.)
import kilnclass Clicks(kiln.App):def setup(self):self.gui = kiln.Gui("Circle")self.radius =self.gui.slider("radius", 40.0, 10.0, 80.0)self.centre = (360, 170)self.clicks =0def mouse_pressed(self, x, y, button):self.centre = (x, y) # only clicks outside the panel get hereself.clicks +=1def draw(self): kiln.background(20) kiln.fill(255, 122, 69) kiln.circle(*self.centre, self.radius) kiln.fill(255) kiln.text(f"clicks that reached the sketch: {self.clicks}", 16, 280)# One click on the panel, one on the canvas.events = [ (2, MousePress(x=60, y=76)), (3, MouseRelease()), (5, MousePress(x=200, y=200)), (6, MouseRelease()),]show(Clicks(), frames=10, size=(480, 300), pixel_ratio=2, events=events, with_gui=True)
Two clicks, one counted: the click on the slider stayed with the panel.
Polling agrees.kiln.mouse.pressed is False while a panel holds the pointer (dragging a slider, say), so if kiln.mouse.pressed: paint(...) does not paint under the panel. A key a focused text field or an open dropdown took is not in kiln.keys, so typing a “c” in a field does not trip if ord("c") in kiln.keys. A click or key the panel did not take reads as usual, and a sketch with no Gui is unchanged. (kiln.mouse.x and kiln.mouse.y stay truthful.)
There is no gui.draw(). Kiln draws every panel after your draw() finishes, on top of everything, with its own colours and transform. You do not need to be careful about your own fill, translate or an unfinished Fbo.
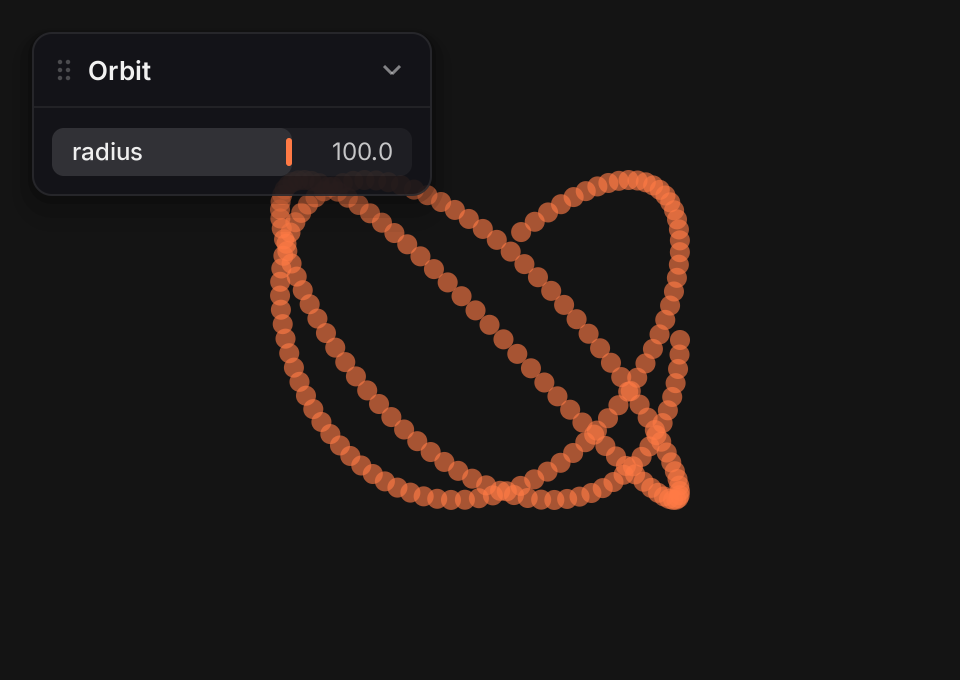
The panel never ends up in your art. It is drawn on a copy of the frame, so a sketch that keeps its frames with auto_clear=False keeps its trails under the panel, not smeared through it. Here a dot circles for a hundred frames and the panel sits on top of the trail:
Because the panel is a tool, it stays out of your pictures.
kiln.save_screen, Image.grab_screen and kiln.testing.render_frames give you the sketch without panels. A poster is never ruined by the slider you used to make it. Pass with_gui=True to render_frames when you want the window as it looked, as these docs do for every picture above.
pixels differ between the two: True
panel corner, art only:       [20 20 20]
panel corner, with the panel: [19 19 24]
What a panel costs
Not much, and it depends on the size of the window in pixels. A panel with forty controls of every kind (sliders, toggles, buttons, colour, XY, range, knobs, choices, text, a graph and a meter) adds two draw calls: one for every shape, one for every string. The CPU it adds to a frame is mostly the copy of the frame that the panel is drawn on, and that copy grows with the pixels:
Window
Panel’s cost per frame
1280 x 800 px
about 0.07 to 0.11 ms
2560 x 1600 px
about 0.3 to 1.9 ms
full screen, 3456 x 2234 px (a Retina laptop)
about 2 to 3 ms
So for a full-screen performance on a big display, hide the panel with Tab. A hidden panel (press Tab, or set gui.visible = False) costs nothing: it is not drawn, and the functions of its graph, meter, spectrum and scope rows are not called. While it is shown, those rows call fn() once per frame, so keep it cheap. The bench/bench_2d.py --check gate holds the panel under 1 ms in its small benchmark window, on an idle machine.
Try this
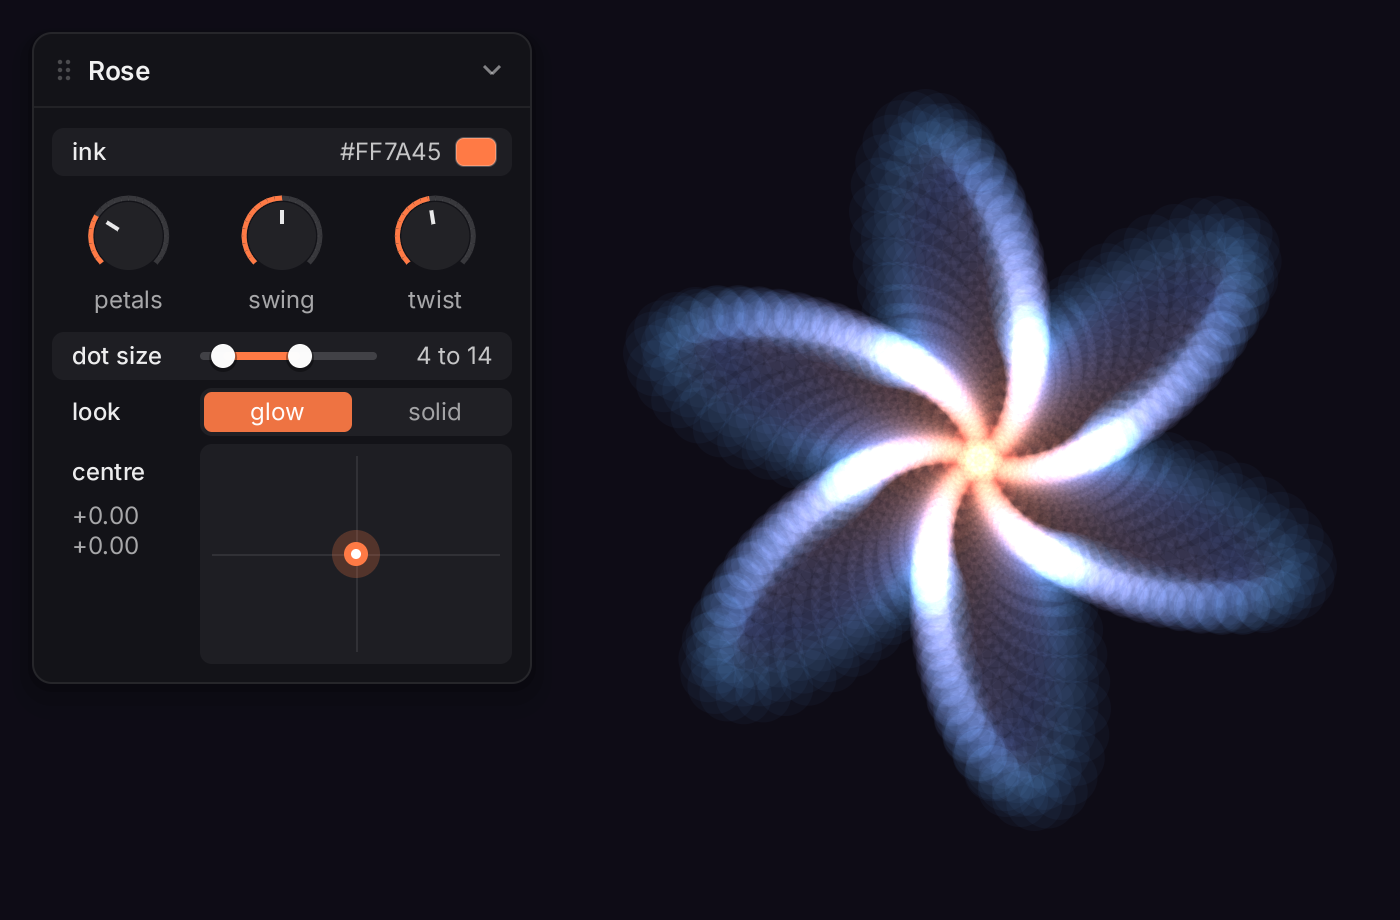
A rose that you tune, with a control of nearly every kind: knobs for the petals, the swing and the twist, a colour picker for its ink, a range for the size of the dots, a choice of glow or solid, and a pad that moves the whole thing. Drag them in a real window (kiln.run(Rose(), 700, 460)) and the picture breathes. The still below has them set to something lovely.
import mathimport kilnclass Rose(kiln.App):def setup(self):self.gui = kiln.Gui("Rose", x=16, y=16, width=250)self.ink =self.gui.color("ink", kiln.Color(255, 122, 69))self.petals, self.swing, self.twist =self.gui.knobs( ("petals", 6, 2, 16), ("swing", 0.45, 0.0, 0.9), ("twist", 1.4, 0.0, 3.0))self.dots =self.gui.range("dot size", (4.0, 14.0), 1.0, 24.0, format="{:.0f}")self.look =self.gui.choice("look", ["glow", "solid"])self.centre =self.gui.xy("centre", (0.0, 0.0))def draw(self): kiln.background(14, 12, 22) glow =self.look =="glow"if glow: kiln.blend(kiln.Blend.ADD) ink, cool =self.ink.value, (90, 160, 255) small, big =self.dots cx, cy =490+self.centre[0] *60, 230+self.centre[1] *60 n, swing, twist =self.petals, self.swing, self.twistfor layer inrange(1, 25): f = layer /24# 0 at the centre, 1 at the rim kiln.fill(*(ink[c] * (1- f) + cool[c] * f for c inrange(3)), 9if glow else40)for i inrange(160): a = i /160* math.tau r =120* f * (1+ swing * math.cos(n * a + twist * f *3)) kiln.circle(cx + r * math.cos(a), cy + r * math.sin(a), small + (big - small) * f) kiln.blend(kiln.Blend.ALPHA)show(Rose(), size=(700, 460), pixel_ratio=2, with_gui=True)